Create a PhoneGap project using either the PhoneGap CLI or the PhoneGap Desktop Application you learned in the first workshop. For example:
phonegap create pgworkshop com.yourname.workshop PGWorkshop
Navigate into the newly created project folder:
cd pgworkshop
The final application project we’ll be using is located here. It contains a solutions folder with the completed step by step lesson to reference. If you want to work along, copy the contents or download the zip file for the project or clone it with git:
git clone https://github.com/hollyschinsky/pocket-guide
Now copy the solutions/www1, config.xml and pgbot-love.png files from the pocket-guide project into your newly created project root and overwrite the default files currently there.
The config.xml file has some settings which will automatically install the project plugin dependencies, but you could optionally add them manually. The pgbot-love.png is the default icon for this application referenced in config.xml.
Serve and pair with the PhoneGap Developer App from the PhoneGap CLI or PhoneGap Desktop:
$ phonegap serveserve command in the PhoneGap Developer app on a mobile deviceAdvanced Option: those with proper local setup can run on device/emulator with PhoneGap CLI with one of the following:
   $ phonegap run ios
   $ phonegap run ios --device
   $ phonegap run android
   $ phonegap run android --device
This option requires a mobile SDK setup. If you have Mac and Xcode you should be able to use iOS, but Android requires additional SDK installation and setup.
NOTE: If you don’t have the PhoneGap Developer App, you can still run the app in your browser by opening the index.html file in the browser, you will just have limited functionality.
Ensure you see the application load with a listing of Amsterdam’s most popular locations. Try typing in a few characters to see the filtering on the name.
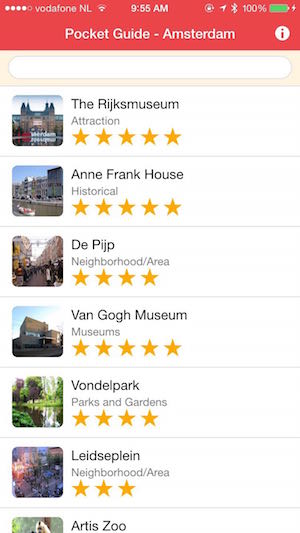
Note: You’ll receive an alert about using credentials for Google Maps, see the next step. We’ll be adding additional features as we go along so not everything will be functional at this point.
(Optional) Set up a Google Maps JavaScript API Key. This project uses the Google Maps JavaScript API for adding a map to the app. If you would like to use this feature, you’ll
need to obtain a key and insert it into the index.html script tag where it says your-dev-key-here. Ensure you’ve kept the &libraries=geometry parameter on the end, we’ll
cover that later:
<script type="text/javascript" src="https://maps.googleapis.com/maps/api/js?key=your-dev-key-here&libraries=geometry"></script>
This is not required, you can choose to follow along by watching the demo’s shown in the workshop.
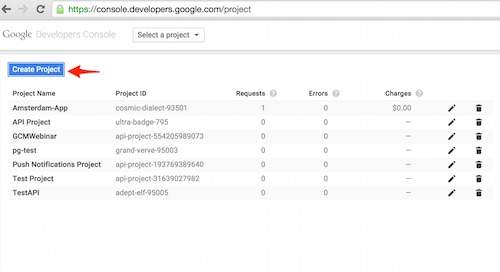
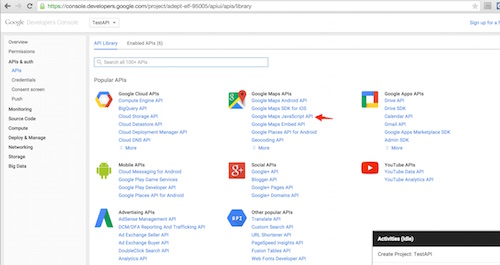
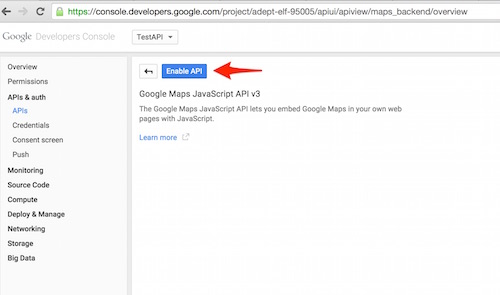
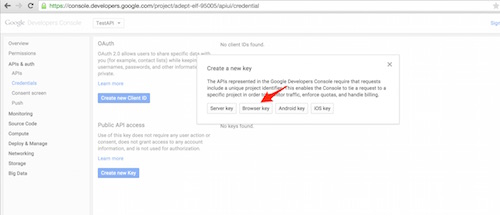
To obtain a key, first create a project, choose the Google Maps JavaScript APIs from the API listing, enable it and create a browser key for it (leave referrer blank). Some screenshots to guide are shown here: